To connect to the Nova VPN system, it is necessary to have the appropriate VPN client software installed on the device. This software (called Ivanti) is what provides authentication and access to internal Nova resources.
Need SharkVPN: Office Apps (on NSU Devices), Astra, Banner, Recruit, Shared-Drives, Windows on NSU devices, and SharkTime
Does not need SharkVPN: Office365 (students), OneDrive, SharkLink, Canvas
The following will provide instructions on how to install and launch the Pulse Secure software.
VPN client installation instructions for Windows-based devices:
Open a web browser (Edge, Firefox, Chrome, etc.) and type
http://sharkvpn.nova.edu into the browser’s address box.
The following page should appear:
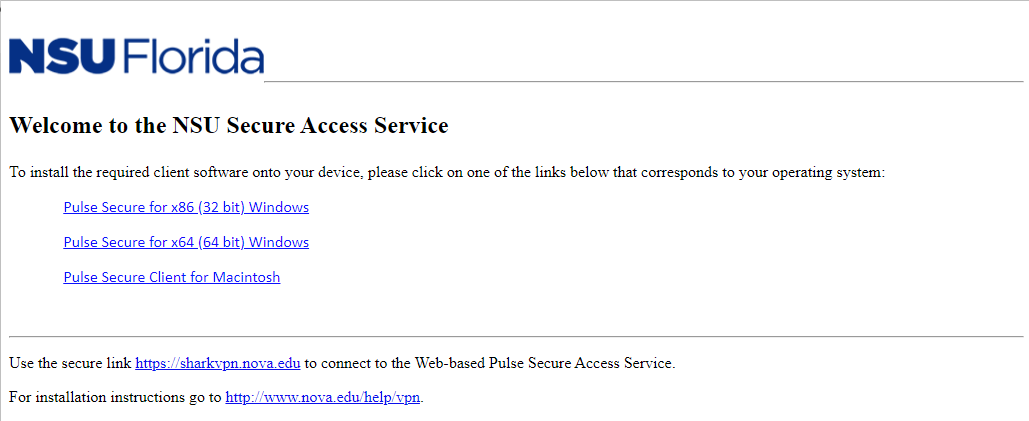
The page provides three different client versions. The first two are for Windows-based devices, and the third is for Apple Macintosh systems.
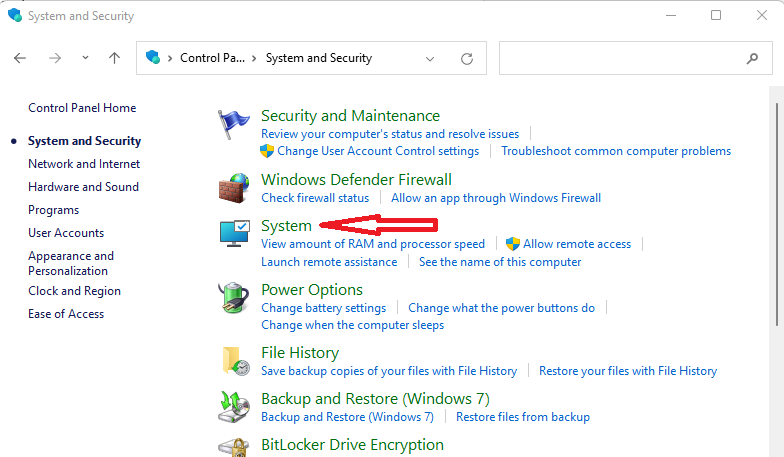
Most late model Windows-based systems run a 64 bit version of Windows. However, if you are unsure about which Windows-based client to select, to verify, simply open the Windows Control Panel and choose the System icon.
After selecting System, the following screen will be displayed providing the necessary system type information.
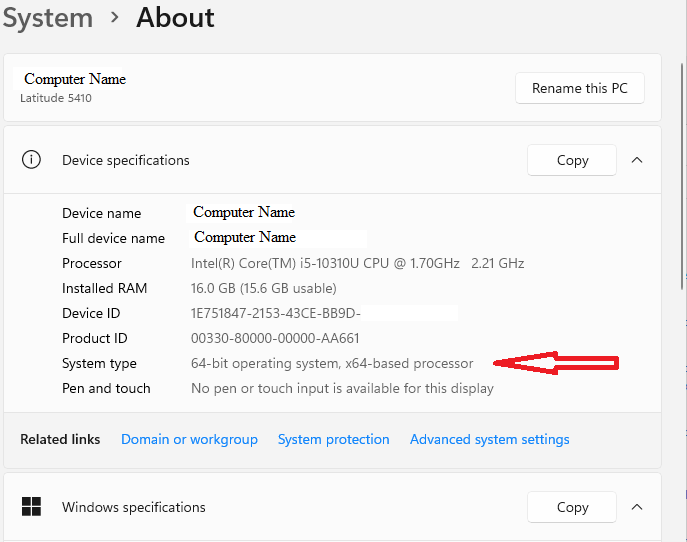
Once that information is known, simply go back to your web browser and choose the appropriate client link.
Depending upon the web browser being used, a dialog box will be displayed asking if you want to run or save the install client. Click on “Run” and the install process will begin.
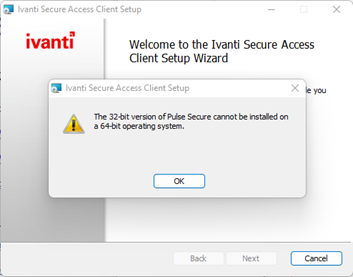
Note: If you accidentally select the incorrect version, the following pop-up box will appear stating that the incorrect client version was selected and can’t be installed. If this happens, click the “OK” button which will close the dialog box and select the other client version.
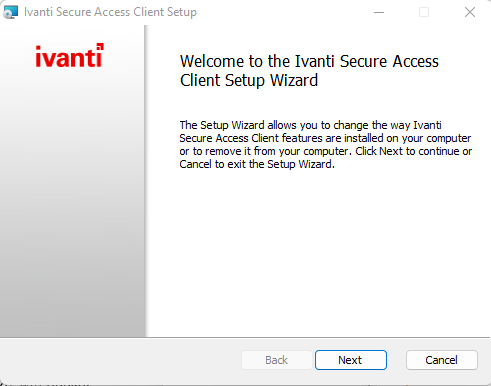
If the correct client version was selected, then the first install window appears, click on “Next”.
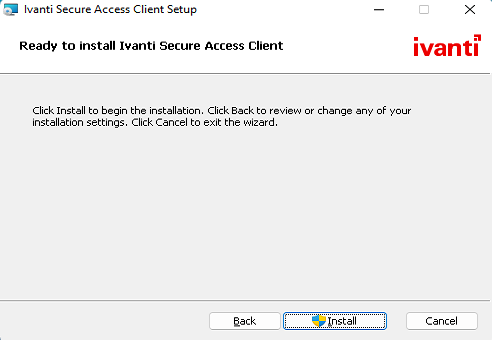
Click on “Install”.
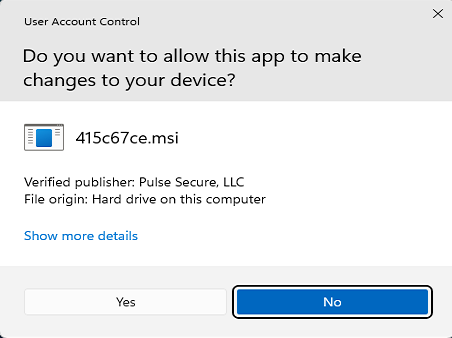
If the User Account Control option is active, then the following screen will appear. Click on “Yes” to allow the install script to copy the client files and to proceed.
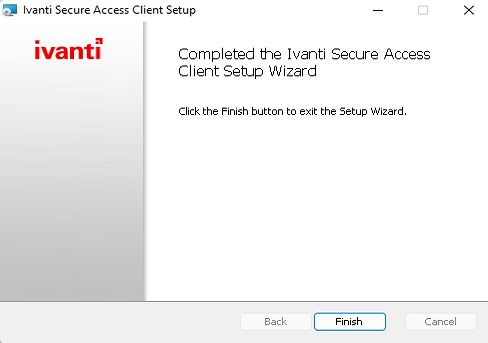
Click on “Finish”.
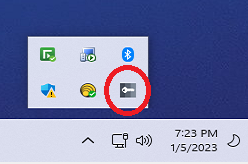
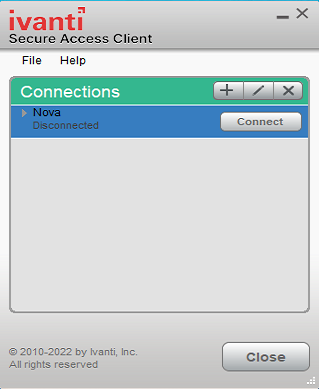
A new Icon is installed under Programs --Ivanti Secure which can be used to start the client. Alternatively, a link in the notification icons area can be used.
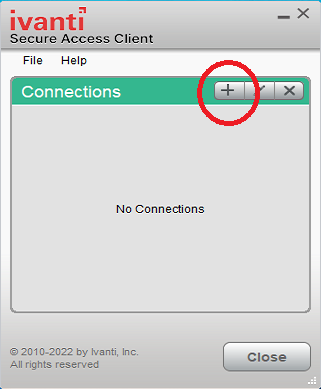
The first time the client is launched after installation, a connection to SharkVPN may need to be added. To add a connection, click on “+” as shown below.
The following window will appear. Fill in the necessary fields.
Leave "Type" as shown, however the connection must be given a name and the VPN URL must be entered.
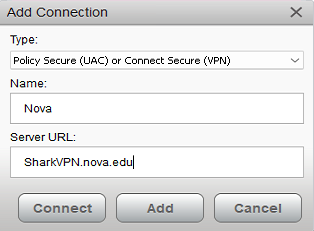
Once completed, click on “Add” to save your connection configuration.
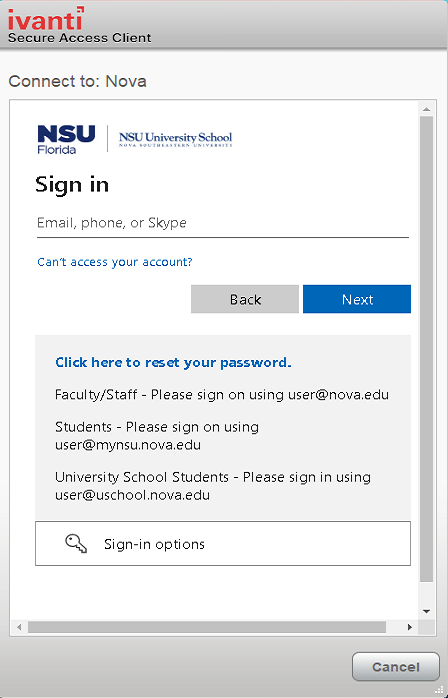
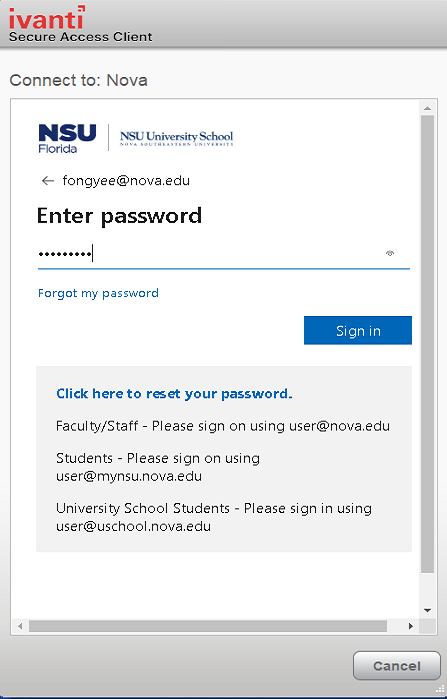
The Ivanti Connect client for Windows installation/configuration is now complete. To connect to Nova, click on the “Connect” button. The login/authentication process will then begin. Enter your Nova email (with the ‘@mynsu.nova.edu’), your password and code. Upon successfully logging in, you will be connected to Nova’s network.
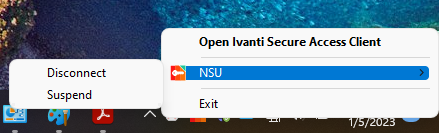
To verify VPN connectivity, examine the Pulse Secure icon in the Notification area. It should look as follows:

To disconnect, right click on this icon and choose “Disconnect” or “Exit” to completely close the client.